Wax And Moisture Management
Wax management
Whether you make a lot of wax or not, wearing hearing aids can increase the amount of wax you see coming out of your ears. Having an earmould in your ear may hinder the natural process of wax moving out of your ears, so often wax will adhere to the ear mould. This is why cleaning your hearing aids daily is vital and why the wax pick is an important part of your cleaning kit.
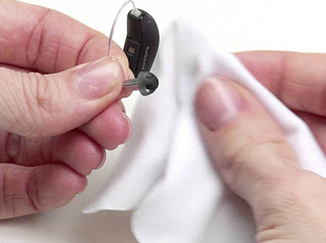
If you do have earwax don’t use a cotton bud to remove it. These are dangerous and the likelihood of you pushing any earwax further down your ear canal is high. Pushing the wax deep into your ear canal will not only be painful but it can block off your ear, causing a (temporary) drop in your hearing levels. If this happens it will need to be removed by a professional. If you see any wax on your ear mould wipe it away, keep the sound bore and vent clear and wipe away any residual wax at the entrance of your ear canal with a wet face cloth. Your hearing aid may have a wax filter or a soft dome in the ear. Special care needs to be taken of these parts of your hearing aid.
Wax filters (sometimes referred to as wax guards) can vary from company to company and hearing aid to hearing aid. They will need to be changed regularly as part of your cleaning regime. They come in various colours, depending on your brand of hearing aid. Check you know how to change your particular wax filter with your clinician. Changing the filter is a straight forward procedure but due to the small size of the filter and tool, you may feel more comfortable asking someone else to help you with this task. Your local Hearing Clinic can do it for you or perhaps a friend or family member. You will need to locate the spare wax filters in your Hearing Aid Care Kit and the tool that will remove the old wax filter and put the new filter in place.
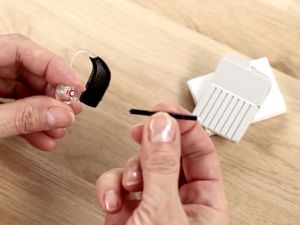
Follow these steps to change the wax filter safely:
- Get the container with spare wax filters and open it (this could be a rectangular or circular holder). Locate the wax filter individual sticks and remove one. There will be a white (depending on your wax filter colour) tip on one end – this is the new wax filter. The other end of the stick will have a small point on it.
- Locate the earpiece of your hearing aid and find the white (or other colour) tip – this is your wax filter/guard - on the sound bore. Using the pointed end of the wax stick, insert this into the white piece on the hearing aid earpiece – you won’t need to use much force. Pull it back out and the old wax filter should come straight off.
- Now turn your wax stick around and line the new (clean) wax filter up with the now empty sound bore. Push the new wax filter into the sound bore gently and pull out the wax stick. The new wax filter will now be in place in your earpiece. Dispose of the used wax stick.
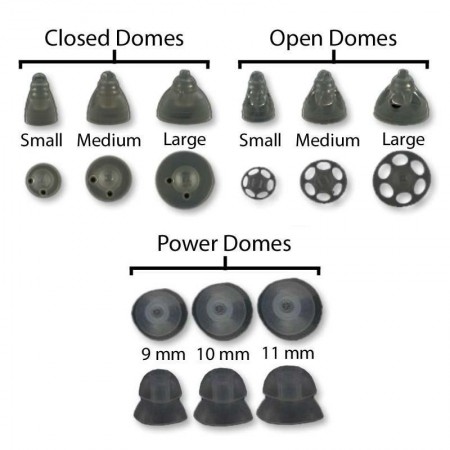
Ear domes are a soft rubber piece on the end of the tubing that carries the sound to your ear. They are usually either grey or black in colour. If you don’t feel comfortable changing your dome, contact your Hearing Clinic and they will do it for you.
Follow these steps to change the dome safely:
- Hold the thin tube firmly and get your finger underneath the dome to gently remove it from over the receiver. It should come off easily.
- Dispose of the old dome and get a new dome from your maintenance kit. Identify the hole on the inside of the new dome and line it up with the receiver.
- Once you’ve lined up the dome hole with the receiver, gently push or twist the dome on to the receiver, ensuring the fit is tight. Push your thumb firmly on the end of the dome, once it’s situated over the receiver. This helps push the dome on as far as it can possibly go.
- To ensure the dome is on properly, pull backwards on the dome, making sure it’s tightly in place and not moving.
Wax filters and domes don’t need to be changed daily, but they should be cleaned as part of your daily hearing aid maintenance routine. They usually last a few weeks before they require changing, and if you have cleaned them daily, this will help with the length of time in between changes.
Moisture management
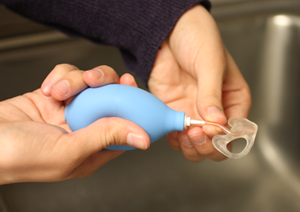
It’s important to protect the computerised components of your devices so you need to keep your hearing aid dry. Most good quality hearing aids have some moisture-repellent technology but oil and sweat from your skin, as well as humidity in the air can impact the workings of your hearing aids’ components – including the microphones.
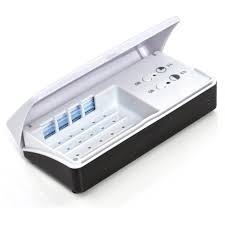
Excess moisture can also cause corrosion, particularly in the battery housing. Some rechargeable hearing aids have desiccant capsules in the recharging case which is great. Other hearing clinics will provide you with a dehumidifier when you purchase your hearing aid. If you haven’t got one – invest in one as this will increase the lifespan of your hearing aids.
If you’ve accidentally worn your hearing aids in the shower, got caught in a downpour of rain, or worse still, put them through the washing machine or gone swimming with them on – don’t panic, they may not be damaged beyond repair.
To dry out your hearing aid, do the following:
- Turn off your hearing aids and remove the batteries (if you use disposable batteries). Dispose of wet batteries.
- Put your hearing aids in the Hearing Aid Dry Kit (dehumidifier) if you have one.
- If you don’t have a dehumidifier put your hearing aids on newspaper to air-dry for 24 hours.
- Put your hearing aids in with uncooked rice or silica gel sachets in a plastic container and close the lid. Leave for 24 hours.
Do not put your hearing aids in the oven or microwave to dry out.
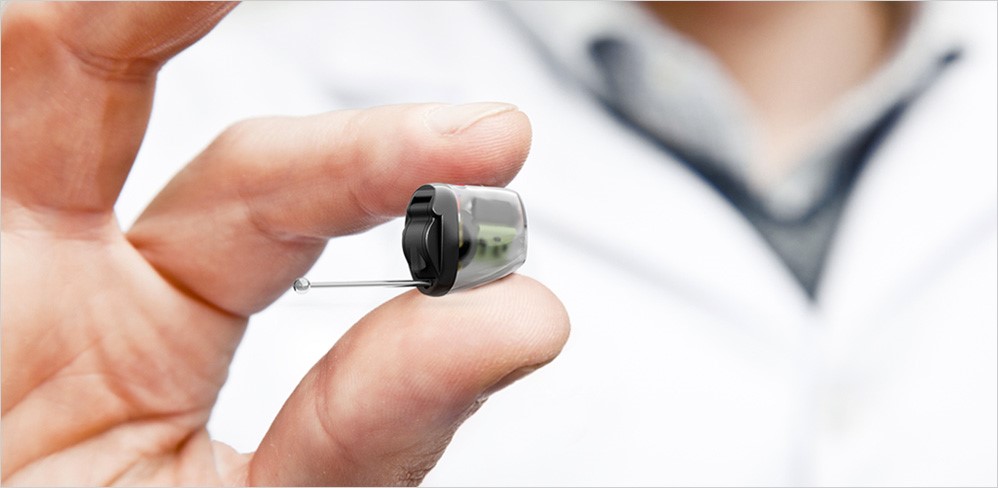
If, after you tried to dry out your hearing aids and they still don’t work, you will need to take them back to the Hearing Clinic for assessment to see if the damage can be repaired.
Next Article --> Troubleshooting your hearing aids
Previous Article --> Hearing aid batteries
